How to Put a Bit in a Corded Hammer Drill
To be an expert corded hammer-drilling expert, you need to learn how to change the drill bits. The parts that enable you to drill holes of different sizes are interchangeable to give you more options regarding the hole size and the nature of materials you can use.
Most people see the bit changing process to be a difficult task, which, in actual sense, is a straightforward activity. Removing or inserting a drill bit depends on the brand of the corded hammer drill you are working with. Here is a great blog article that will specifically talk about top corded hammer drill.
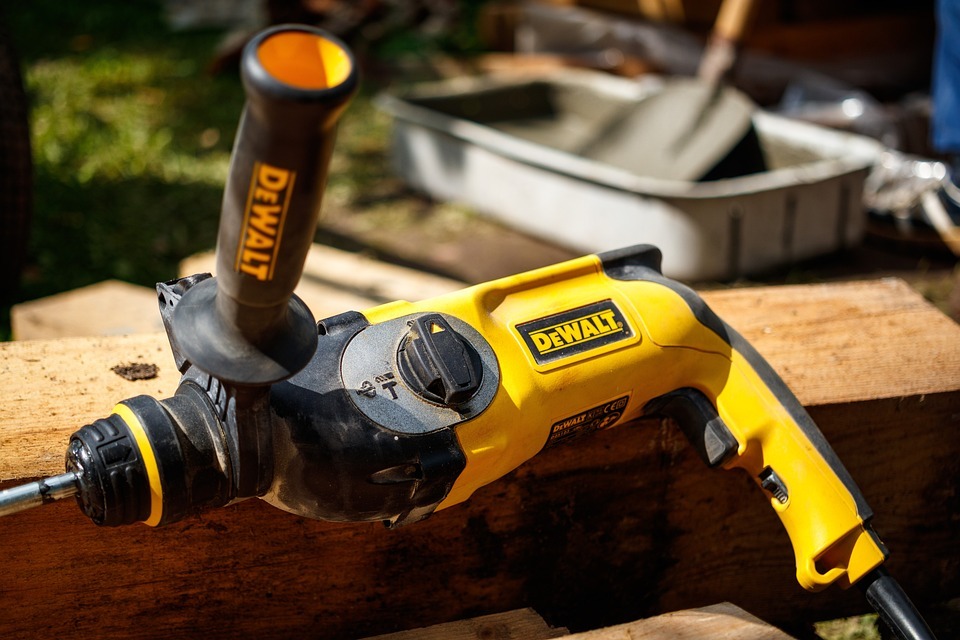
Drills hold the bits on the chuck-the front section with jaws that help secure the bits when drilling. The chucks take a different look at cordless drills. The chuck keys are available in various sizes, with the heavy-duty drilling machine having the larger sizes.
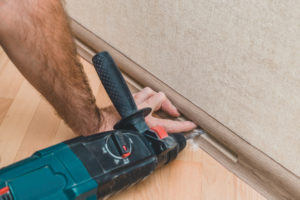
Step 1: Hold the drill in a comfortable position
Turn on the chuck to release the jaws to fit in the drill bit. Chuck is now visible as the cylinder with open jaws at the topmost part of the drill.
Step 2: Placing the bit
Place the bit on the open jaws of the chuck. The size you open depends on the drill bit size. The shafts have a different shape depending on the type of work they perform. Tighten the drill bit fits snuggle between the teeth.
Step 3: Set the drill
Use the directional switch to set the drill. The switch is at the top of the drill near the trigger switch. In some hammer drill models, you will see a button switch near the drills' engine.
Step 4: Tighten the bit.
Hold on the trigger as you hold on the chuck, then press the trigger. You do this to ensure the drill bit is firm and straight. If uncomfortable, keep turning the chuck and make sure the bit is tight and in the right position.
Step 5: Tighten the bit using the chuck key.
Use the chuck key to tighten the drill bit. If you are a drill without one, use the above method in step 4. A drill that uses a cord will have the key to tightening the drill bit. The key always hangs by a cord on the side of the drill. Use the key to insert into any of the available holes near the base of the chuck. Keep turning the chuck key until all the jaws of the chuck interlocks with the drill bit keeping it firmly in position.
How to Change Drill Bits without a Chuck Key
If the corded hammer drill does not have a chuck key, here are what you to do.
- You will need to loosen the chuck by holding the chuck on the one hand. The other hand should be on the drill's handle.
- Turn the chuck in an anti-clockwise direction to loosen the jaws of the chuck to loosen up.
- Insert the drill bit
- Follow the steps above (step 4) to tighten the grip of the chuck.
Know the Size of Your Chuck Key
The two things you can lose on-site are the chuck keys and the drill bits. If your chuck key is out of site, changing the drill bit can prove to be a nightmare. You can visit the local hardware shop to help you choose a variation of 12 key sizes. Know the right size of your key and measurements to shop for the right match.
The chuck key's size is engraved on one side of the drill, note the number, and take the measurement of the chuck keyhole. With the right information, you can visit the local hardware store.
Final word
This blog post has covered all that you, as an amateur, DIYers, or a professional, need to know when handling the drill bit on a corded hammer drill. The tutorial can be useful on any drill type and covers a situation of not having a chuck key lock. You are advised to take the instructions seriously but not as a replacement to a hands-on approach or training. Follow safety precautions as instructed in the drill's user manual.